


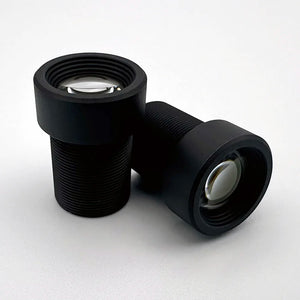
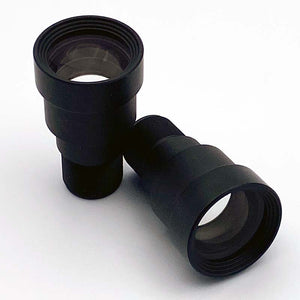
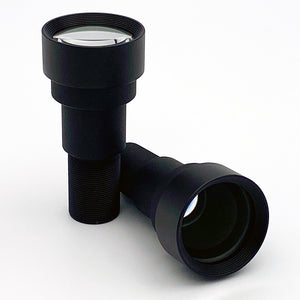
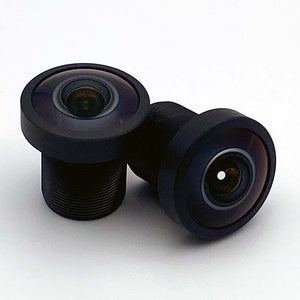
Low Distortion 5.2mm M12 Lens for up to 1/1.8" Sensors such as AR2020
5-mm-M12-Objektiv mit geringer Verzerrung
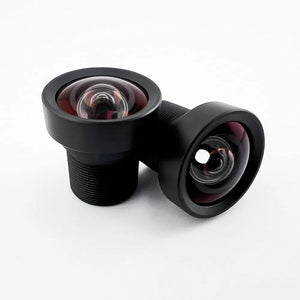
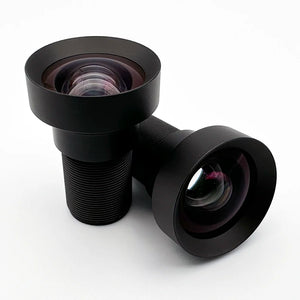
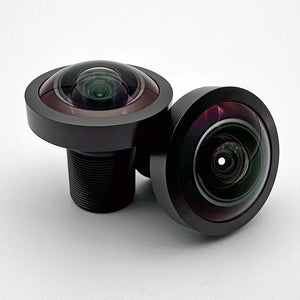
The CIL052 is a low distortion 5.2mm M12 lens for up to 1/1.7" sensors. The lens is all glass with <0.2% distortion, resulting in clear images with great performance over temperature.
Auf Lager – Bestellungen, die vor 12 Uhr PST eingehen, werden noch am selben Tag versandt
Merkmale des Objektivs
10MP+ 1/1.8″
Sharp images for demanding 1.4um pixel size
Alles Glas
Good performance against temperature
Tabelle der optischen und mechanischen Spezifikationen
| Objektiv Parameter | Leistung Detail |
|---|---|
| Teil Nummer | CIL052 |
| EFL | 5.2 |
| F# | 3.4 |
| Auflösung | 10MP+, 1.55m |
| Sichtfeld | 70° @ 7.2mm image circle — Calculate FoV for your sensor |
| Bildkreis | 9.0mm as-designed, 9.2mm maximum |
| Verzerrung | -0.1% Rectilin. @7.2mm |
| Gewicht | 13.1g |
| IR-Cut-Off-Filter | Optional |
| Bauwesen | 9G |
| Chief Ray Angle | 12° @8.9mm image circle |
Tabelle zur mechanischen Kompatibilität der Kamera*
| Kamera/Mount | Kompatibilität |
|---|---|
| Commonlands CLA024 | CLA024 |
| e-con Systems S-Mount | 12-15mm tall mount |
| D3 Engineering | Ja |
| iDS XLS | Nein |
| Allied Vision | Ja |
| Basler Dart | Ja |
| The Imaging Source M12 | Ja |
| Raspberry Pi HQ M12 | Nein |
*Nur mechanische Kompatibilität, unter der Annahme, dass der Standard M12x0,5 Objektivanschluss vom Kamerahersteller bereitgestellt wird. Bitte prüfen Sie die optische Kompatibilität separat.
Häufig gestellte Fragen
What sensors work with the CIL052 low distortion M12 lens?
The CIL052 fits 1/1.8″ sensors resolving 16MP+ at 1.4µm pixel pitch. The ON Semiconductor AR2020 is a direct match, and the 9.0mm image circle also covers 1/2″ sensors with the full 70° FoV.
How low is the CIL052 distortion?
Rectilinear distortion is -0.1% at the 7.2mm image circle. That level is low enough for dimensional measurement, barcode scanning, and machine vision inspection without software correction.
What filter options does the CIL052 have?
Commonlands offers four variants: CIL052-F3.4-M12A650 with 650nm IRC, CIL052-F3.4-M12ABP850 with 850nm bandpass for NIR, CIL052-F3.4-M12ANIR with no filter, and CIL052-F3.4-M12B650 with an IP-rated barrel and 650nm IRC.
What lens holder works with the CIL052?
The Commonlands CLA024 is one compatible holder, and other mounts work as well. e-con Systems boards require a 12–15mm tall mount, and Allied Vision, Basler Dart, D3 Engineering, and The Imaging Source M12 cameras are also compatible.
Does the CIL052 M12 lens ship same day from the US?
Yes, Commonlands ships in-stock M12 lenses same day from San Diego, California for orders placed before 12 PM PST.
Is the CIL052 available in an IP67 variant?
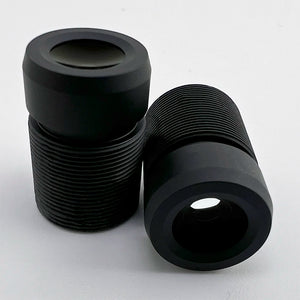
Yes, the CIL052-F3.4-M12B650 is available in the IP-rated M12B barrel. The M12A variant does not have an IP rating.
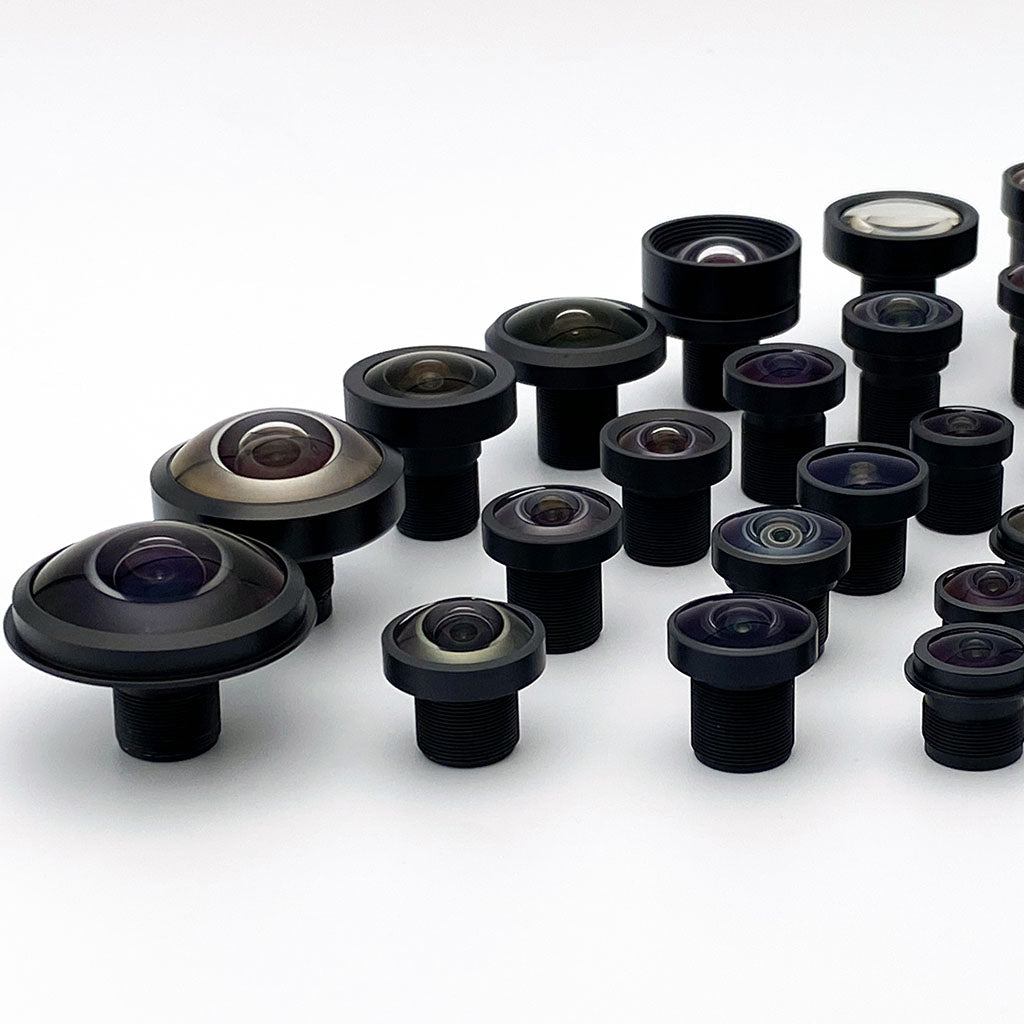
Ähnliche M12-Objektive (S-Mount-Objektive) für die eingebettete Bildverarbeitung
Über Commonlands
Commonlands LLC entwickelt und fertigt Präzisionsobjektive mit M12-, C-Mount- und M8-Anschluss für die industrielle Bildverarbeitung, Robotik und eingebettete Kamerasysteme. Mit Sitz in San Diego, Kalifornien, halten wir Lagerbestände für den Versand am selben Tag bereit und bieten direkten Kontakt zu unseren in den USA ansässigen Optikingenieuren. Ganz gleich, ob Sie ein einzelnes Prototyp-Objektiv oder Serienmengen von über 25.000 Stück benötigen – unser Team begleitet Sie über den gesamten Lebenszyklus hinweg, von der Beratung beim optischen Design bis hin zur Serienfertigung.
Benötigen Sie Hilfe bei der Auswahl des richtigen Objektivs für Ihr Kameramodul?
Wenden Sie sich an unsere Optikingenieure in den USA.